Hardwood floors are a timeless choice for homeowners, offering a blend of elegance, durability, and value to any home. Whether you’re considering a complete renovation or simply updating a room, installing hardwood floors can enhance the aesthetic appeal of your space. However, the installation process requires careful planning and execution to ensure a flawless finish. This guide will walk you through the essential steps of hardwood floor installation, from preparation to completion, ensuring you achieve professional results.
Preparation and Planning
Before diving into the installation, thorough preparation is crucial. This phase sets the foundation for a successful project.
1. Determine the Type of Hardwood
Choosing the right type of hardwood is essential. Consider the following factors:
- Species: Options include oak, maple, cherry, and walnut, each offering unique grains and colors.
- Grade: Grades range from clear to rustic, affecting the wood’s appearance and cost.
- Finish: Prefinished or unfinished woods cater to different aesthetic preferences and installation timelines.
Explore further insights here to choose the best hardwood for your project.
2. Measure and Calculate
Accurate measurements are vital to ensure you purchase the correct amount of material.
- Calculate the total square footage of the area.
- Include an additional 5-10% for waste and cutting errors.
Find additional information here to assist with precise calculations.
3. Acclimate the Wood
Hardwood needs time to acclimate to the room’s humidity and temperature to prevent warping.
- Store the wood in the installation area for at least 48-72 hours.
- Keep the room climate-controlled.
Read more about this topic in our detailed guide here.
Installation Process
Once prepared, the installation process begins. This stage requires precision and attention to detail.
1. Prepare the Subfloor
A smooth, clean subfloor is essential for a successful installation.
- Remove any old flooring material.
- Ensure the subfloor is level and clean.
- Repair any imperfections or damage.
2. Layout and Installation
Carefully plan the layout to maximize the wood’s aesthetic appeal.
- Start along the longest wall or focal point.
- Use spacers to maintain consistent gaps for expansion.
- Secure the boards using the appropriate method: nailing, stapling, or gluing.
Learn more in this detailed guide on installation techniques here.
Finishing Touches
Once the flooring is installed, final touches ensure a polished look.
1. Sanding and Finishing
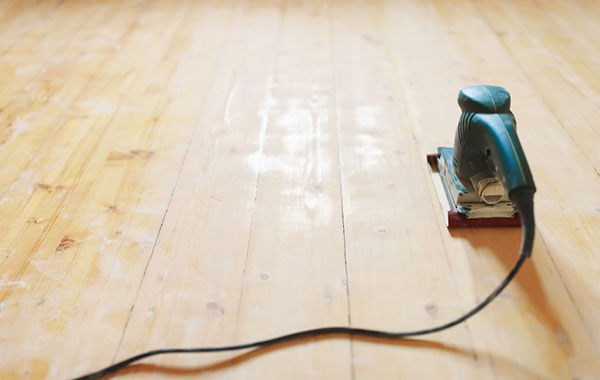
Sanding smooths the surface, while finishing protects the wood and enhances its beauty.
- Use a drum sander for an even finish.
- Apply a stain or sealer as desired.
- Finish with a protective coat for durability.
Explore further insights on finishing techniques here.
2. Maintenance
Proper maintenance extends the life of your hardwood floors.
- Regularly sweep or vacuum to remove dirt and debris.
- Use a damp mop for deeper cleaning.
- Apply a wood floor cleaner as needed.
Find additional information on maintenance strategies here.
By following these steps and paying attention to detail, you can achieve a stunning hardwood floor installation that enhances the beauty and value of your home. For further guidance and tips, consider reaching out to professionals who specialize in hardwood floor installation.